Showing posts with label craft. Show all posts

Friday, November 14, 2014

3(ish) links

1. For those of you who have a public library card from BC, BC Libraries Cooperative: Libraries 2 Go, is a great place to get ebooks and audiobooks. In your pajamas.

I listened to the audio version of The Healing by Jonathan Odell whilst sewing, and you should too. Or read the ebook version.


2. If you're a nerd and you read the bible, you might be interested in the online Interlinear Bible by Bible Hub. It's great for looking up the original Hebrew and Greek words, which are sometimes more nuanced than their one word equivalent in an English translation.

3. Learn the very basic crochet stitches in less than 8 minutes with this youtube video! There are a million videos out there. I like this one because she uses the proper crochet terminology and talks about the abbreviations for the stitches too, which is helpful/essential for using a pattern. Also, it's super short and uncomplicated.


Friday, October 3, 2014

DIY Day with Teenage Girl-Child

Last weekend, I got to spend some quality time with Ruby (my bff's teenage girl-child), and we hauled out the craft supplies and sat in front of the tv re-watching our favourite episodes of Raising Hope. One of the projects that we fell in love with is this duct tape flower pencil-topper (diy here!). This one was relatively easy, and tonnes of fun for both of us. 


Apparently, Ruby REALLY liked this, because she continued making flowers after I left, and then fell asleep clutching her craft supplies (pretty much the most adorable thing ever). 

P.S. If you're looking for crafts to do with teens, there are some great ideas here and here.

Wednesday, August 27, 2014

DIY Thread-Bound Notebook


 It might be said that I go through my fair share of notebooks. I really like the ones with sewn binding (like moleskins) because they're slim and light. I kind of like the battered look they get around the edges after a while, and the fact that they don't have too many pages (next notebook, please).

While I was in school, I made my own with card-stock covers, and just used my sewing machine to bind them up the center. But I've been wanting a slightly more sturdy cover--more sturdy that I should subject my sewing machine to, so I had to figure out a relatively simple way to bind them by hand. Easy peasy, really. All you need to do is make a lockstitch binding (like the one your average sewing machine makes) by hand. Here's how it's done:

Materials 
- Bristol Board for the cover--I just asked for it at my local print and stationery store (or use cardstock, or scrap cardboard from a cereal box, cut to a standard 5.5"x11" letter-size)
- Approximately 20 sheets of printer paper for the pages
- Thread--I used the heavy upholstery kind, but you can just double up some regular thread if you prefer
- Pushpin
- Handful of Binder Clips
- Pencil
- Ruler--if you have a quilting ruler, they work like a charm.
- Corkboard--if you don't have one, use a pile of scrap cardboard.
- Scissors
- Exacto Knife (optional)


1. The first step is to decorate your cover! I drew my by hand, but you can use stamps, stickers, stencils, or whatever you fancy.

2. Draw a straight line down the middle (5.5" from the edge if you're using regular letter-sized paper and cover). If you don't have a quilting ruler, measure 5.5" from the edge across the top, middle, and bottom of the page. Then draw a straight line with your ruler to connect the marks.


Make a visible mark an eighth of an inch from the top of the line and then mark every .5" down the rest of the line. It won't end up perfectly an eighth inch from the bottom, but unless it's going to drive you nuts, you can just modify the space between the last few marks.  


3. Stack your cover (right side up) on top of your printer paper and make sure all the sides are flush. Then clip it all together with your binder clips to make sure it stays flush while you're binding. 


4. Lay your securely clipped stack of paper and cover on your corkboard and make holes at each mark using your pushpin. Be sure to make your holes right on the straight line that you drew, otherwise your binding will be wobbly.

5. You're going to use a lockstitch to bind the notebook. First off, you need to measure out your thread. You need three times the length of the binding, plus about three inches.

clip the thread to the bottom middle of the notebook, leaving a three inch tail. This will be your 'lock thread' for the binding. 


Thread your needle, draw it through the top-most hole, and pull it tight. (As you go along, you want to be careful that you pull the thread tight enough so that there is no slack, but not so tight that the end of the thread gets pulled from the binder clip.) 


Now, flip the book over so that you're looking at the front cover. Thread the needle down through the second hole (I did mine upside down, which probably looks confusing--either way is fine, as long as you start at the opposite end from where you've clipped the end of your thread)


Flip the book so that you're looking at the inside, and pull your thread through so that there is no slack. Pay attention to which side of the lock thread you're coming up on. Thread the needle back through the same hole, but (this is important) make sure you're coming down on the other side of the lock thread. This way, your main thread will catch on the lock thread and make a stitch instead of just coming back out the other side. 


6. Continue making your stitches in this way until you get to the last hole. Check to make sure your stitches are even. The lock thread should be running straight down the centre of the book without any slack and without being pulled through to the front of the book. 


For the last stitch, you are going to draw the thread through from the front of the book to the back, and then unclip the lock thread and tie the two ends of the thread together in a knot, as close as you can to the paper. Double (or triple) your knot before clipping off the ends of the thread.


7. Now fold the book in half. It will naturally fold along the binding, but be sure that the pages are flush along the top and bottom. Applying a bit of pressure, run the handles of your scissors along the binding edge to flatten the crease.


 8. Now, the pages along the top and bottom of the book should be flush, but they will be sticking out a little from under the cover along the side. If you would like, you can trim them using your ruler and exacto knife. Make sure your blade is sharp and be careful to hold your ruler in place so that you get a straight flush cut. (It's really easy to get a ragged cut at this point, so consider the risk before you put your knife to the page.) You won't be able to go through all the pages at once. Just keep going over it until you're through the stack.


That's it--you've got your very own hand-bound notebook! You can use this technique for various soft covers. I save my favorite birthday cards to use as notebook covers, and simply cut my printer paper to the same size. You can do the same with children's soft-cover books too. Sometimes I photocopy my favorite fabrics onto cardstock and use that as the cover. You may have already dreamed up an alternative of you own!


Let me know how it goes for you!

Friday, April 25, 2014

Golden! (Repurposed Plastic Zebra Hook)
So, if pinterest is a reliable indicator or current trends, cutting up and/or painting plastic animal toys is super-popular these days (so many pins!). And I'm all over that action. There is nothing like a metallic or neon jungle animal figurine to light up your day--that's what I say. Only, I'm living a kind of space-restricted existence right now, so I have to kind of rationalize every single trinket that comes through the door. Making animal heads into hooks for hanging things on is as good as any rationale, right?

Before I tell you how I made it, let me start by saying that this bauble isn't a real quality item. It may not even outlive the trend. But once I found the toy animal (on the cheap, by the way) I didn't want to go out an buy a bunch of other supplies, so I made use of stuff I already had on hand. If you want, you can too.

First, cut the head off of a perfectly good toy with a box-cutter. You know, with the blade facing away from you and all that. Then throw on a few coats of craft paint and trace the outline of the opening at the back of the neck onto a yogurt lid (or some other flat piece of plastic that you'll be able to cut out with scissors). Cut it out.

Shove a pin through the plastic, and gob lots of hot glue around the pin head to keep it in place. To add some sturdiness, position the pin so that it's pointing downwards a bit.


Once the glue around the pin is dry, glue the yogurt-container-and-pin bit over the opening at the back of the neck.


Do some paint touch-ups if you need to, and then put her in the wall or on a cork board. Don't hang heavy stuff on it. It won't hold. Think necklaces and ribbons. Or nothing at all--just let it be there in all its gloriousness (like taxidermy, but less queasy-making)

If you want something sturdier, I would imagine that filling the head with cement and sticking a screw in it (pointy side out) would be a good way to go. Spray paint would probably outlast bottled craft paint. If I ever decide I need more of these babies, I'd get the proper supplies and take the time to do a good job of it. But this mickey mouse job works just fine for hanging my measuring tapes. And I didn't have to change out of my pajamas to go to the store.


Wednesday, April 2, 2014

Cross Stitch Pattern Round-Up

I found a new TV series that I love (not difficult, given my love for television). It's an Aussie show called Love Child, and it's about a home for 'unwed mothers' in 1969. I'm three episodes in, and I'm all over that drama. Since I see a lot of quality TV time in my near future, I think it's about time for me to incorporate a craft project into the marathon. Needlework is one of my favourite things to pair with tv watching because, unlike my sewing machine, the swish swish of a needle pulling thread is relatively quiet.

I'm thinking cross stitch? I've been looking for patterns on Etsy, and there are some super-sweet and relatively simple ones that I'm dying to try! All three of the shops that these patterns come from are loaded with great patterns at varying levels of difficulty--these are just three of my many favorites! What would you choose?

cactus by galaborn patterns

Cherry Blossoms by Charlotte Alexander

beetle by andwabisabi

Thursday, September 5, 2013

Post-Defense Craft Time

Woop! I passed my thesis defense! Now I just have a few minor revisions and it will all be behind me.

Now I get to start planning for the epic party we're going to have to celebrate it! Crafts are already on the go. Here's a sneak-peak at the cotton lanterns I'm making. There may or may not be a tutorial coming in the future . . . depending on whether or not I get my act together and start taking pictures of all the steps.

Thursday, August 8, 2013

Sisterly Love in Metric Tonnes

My brother's birthday was last month. He was vacationing in Ontario, so I held off on mailing his gift (packed with delicious perishables). But now he's back in BC (I think), so I packaged up his gift and sent it off to what I hope was the right address . . .

I made this pretty awesome card for him.


I really did.

Actually, it's an envelope made of cardstock stuffed with pics from the Mumford & Sons concert in Holland Park that he took me to for my birthday. I can't really compete with Mumford & Sons tix, so I made it all sentimental and home-made this year.

The card is even more awesome if you know the story behind it. (Which I am about to tell you)

It all started a couple Christmases ago, when Darren's gift tag to me looked like this:


For his birthday that year, I made him the little embroidery on the wall in this pic:


Then last Christmas he got me this super awesome fabric (which I haven't been able to cut into yet, due to its sentimental value!).


Awwww, what a lovely story. Right?

This year's card was made by photocopying the original whale image from that first Christmas and making a stencil, then filling the stencil with my thumb prints in black ink. Easy peasy, and pretty darn fantastic. Welcome to awesome-town. 


Friday, January 13, 2012

fab(ric) friday!

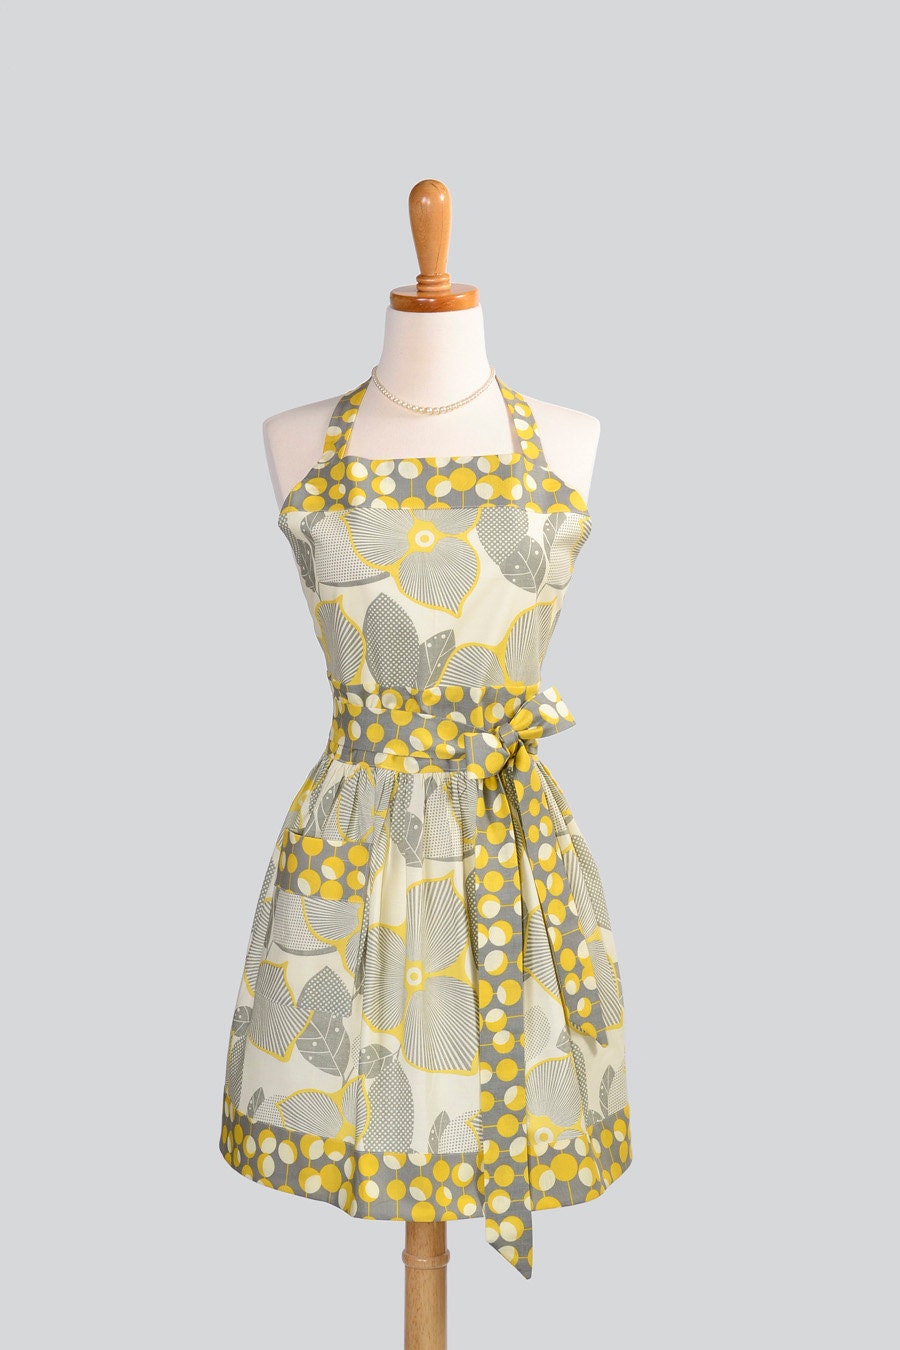
This week, my favourite fabrics are inspired by this apron from CreativeChics on Etsy. It just makes my heart stop. The style is so fantastic! And I love the fabrics. Both of them! Together!
Women's Bib Apron from CreativeChics

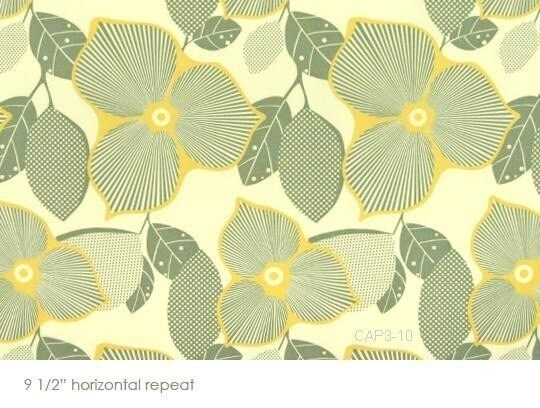
Amy Butler's Optic Blossom in Linen - Listed at hbfabrics on Etsy

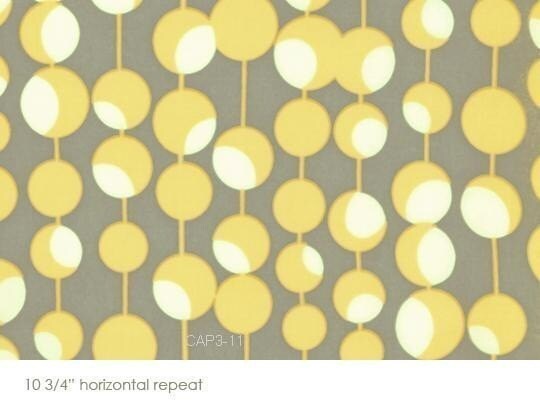
Amy Butler's Martini in Mustard - Listed at hbfabrics on Etsy